How to Create an Interactive Google Map
Step one: Sign into your Google Account
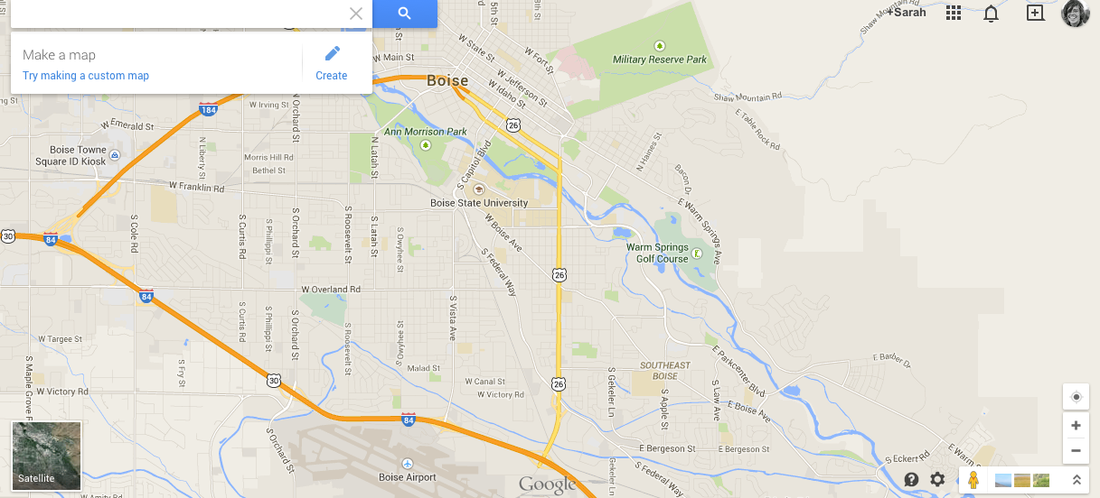
Go to Goole Maps and in the upper right hand corner there is a blue button labeled "Sign in". Sign into your Google account there.
Step two: My Maps
In the upper left hand corner there is a box to type and address, below that is a button labeled "My Maps" click on that and from the drop down menu seen below, click "Create".
Step Three: Set up
You will be redirected to a page that looks like the one embedded below
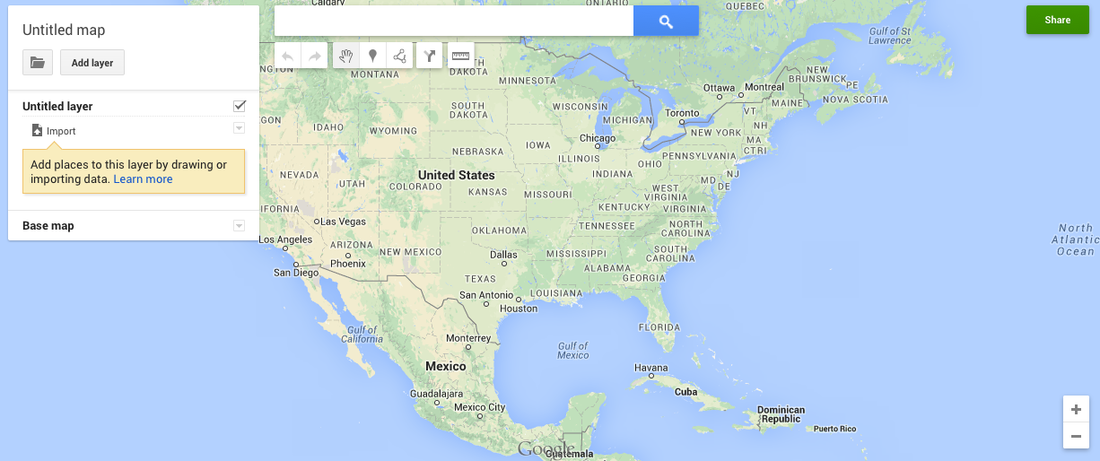
Click on "Untitled Map" add a title and description. You are now ready to start adding Markers to your map.
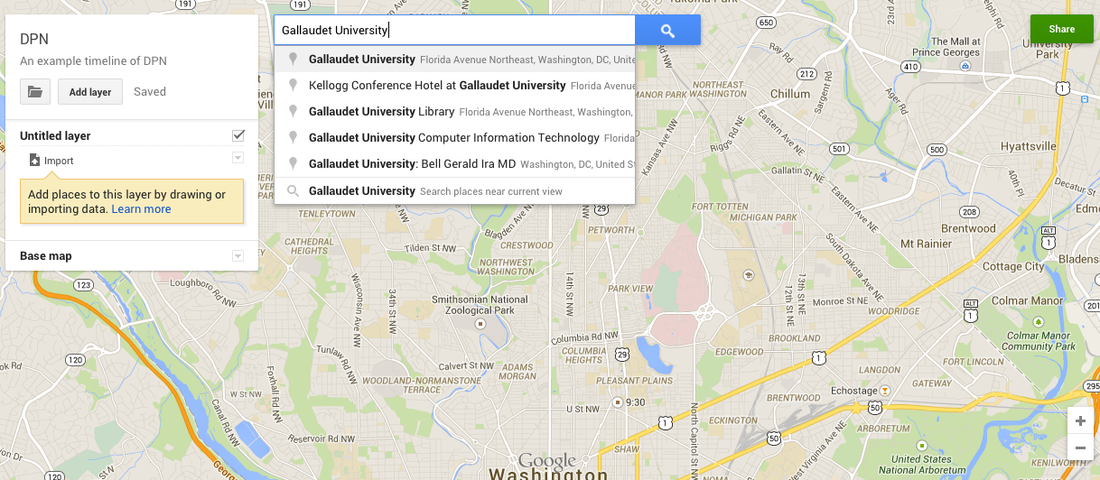
Step Four: Adding Markers
Use the search box above to type in the address you want your marker to be placed. Once you click on the location, a marker will be dropped.
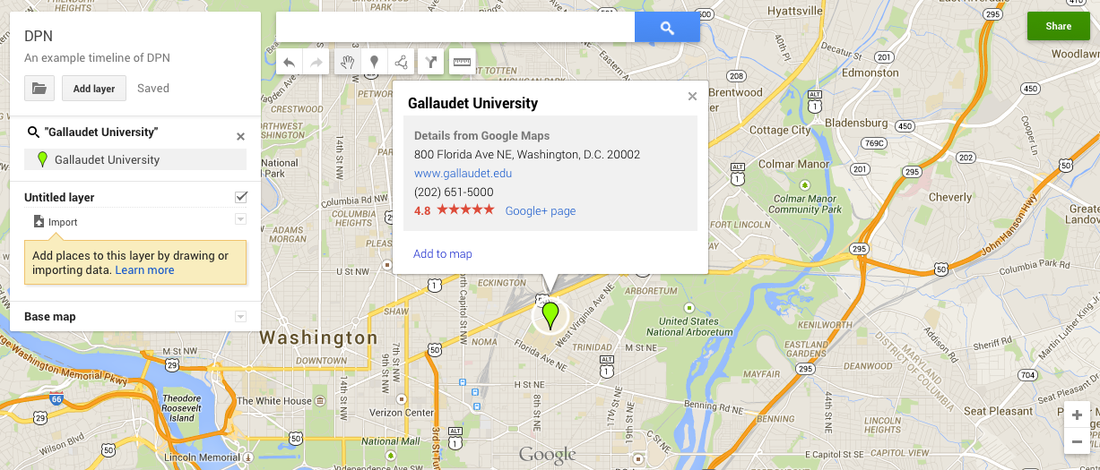
Once the marker is dropped it will be green. Click on the green marker and click "Add to map". The marker will then turn red.
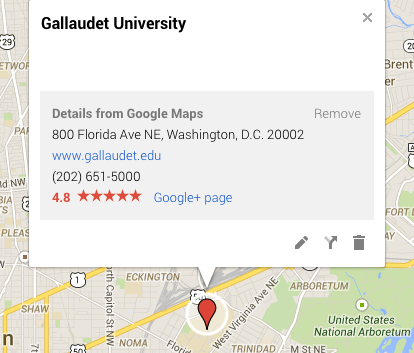
Step Five: Adding Media and Descriptions
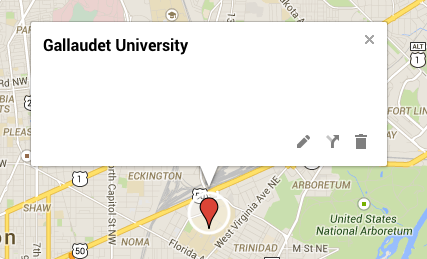
Once you have a red marker on your map, you can click on it to edit the material it shows. When you initially click on the marker you will see the initial information. In the right hand corner of the box click "Remove"
The box will be emptied and by clicking the button that looks like a pencil representing an Edit function, you are free to add any pictures, videos, and descriptions that you please.
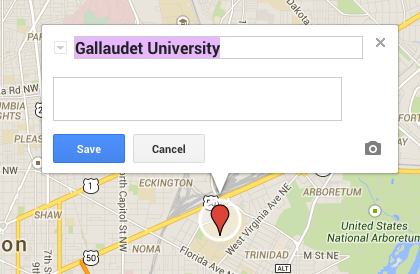
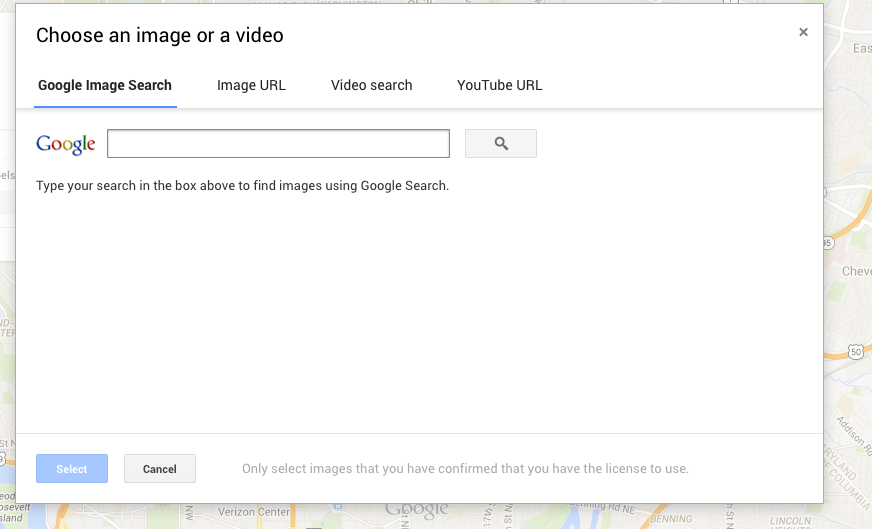
By clicking the small camera in the bottom right hand corner you can add pictures and videos found online. I expect you to have at least 3 pictures and 2 videos in your presentation.
Step Six: Adding Lines
Play around with the functions available in Google Maps have fun and create something worth discovering. There is a function that I expect you to add, a line showing the path of the DPN march. To do this click on the icon that looks like this:

It is located below the entry box.

If you need more direction, here is a tutorial from YouTube
